Making a main spring for a classic English shotgun.
A lovely little Churchill XXV was brought in to the workshop for emergency repair as it was no longer firing the left barrel. The customer was shooting in a few days, so a quick turn around was essential.
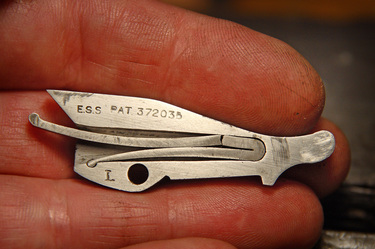
I stripped the action to identify the fault, and here we have it. The left main spring has broken within its' housing.
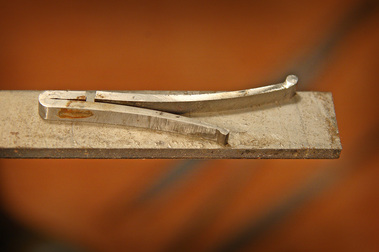
The main spring is out and laid on the flat spring steel bar stock that I will make the new spring out of.
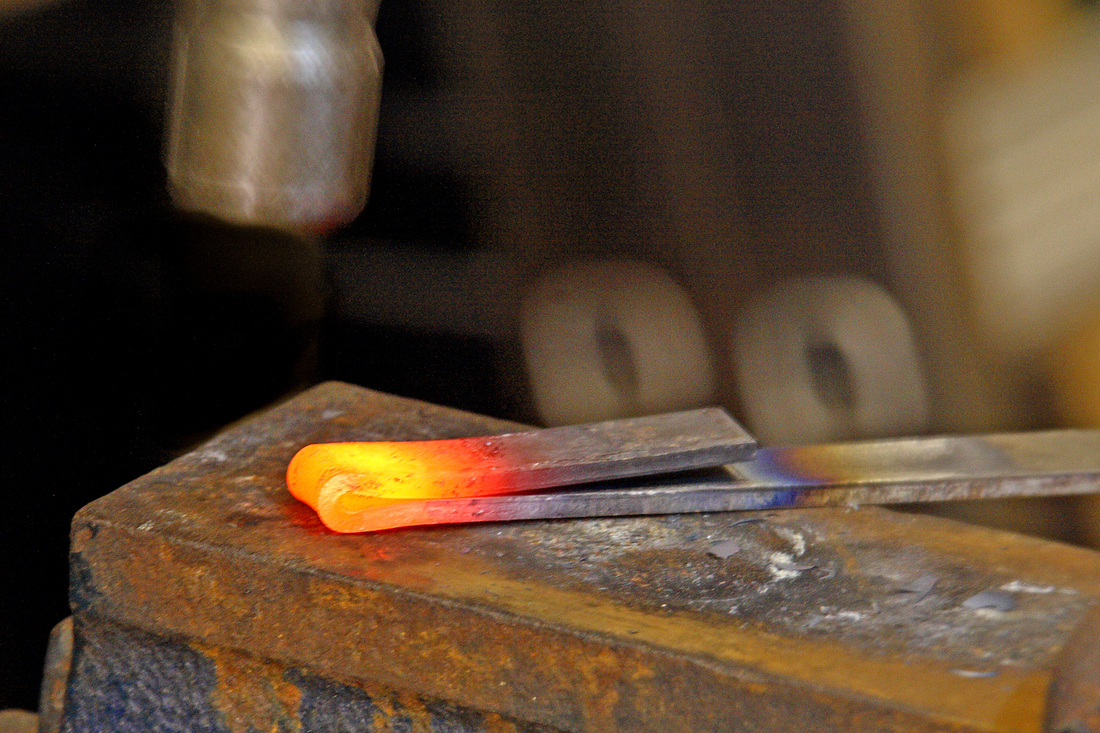
First the spring steel is heated, then folded and hammered flat to form the "V" of the new spring.

|
|
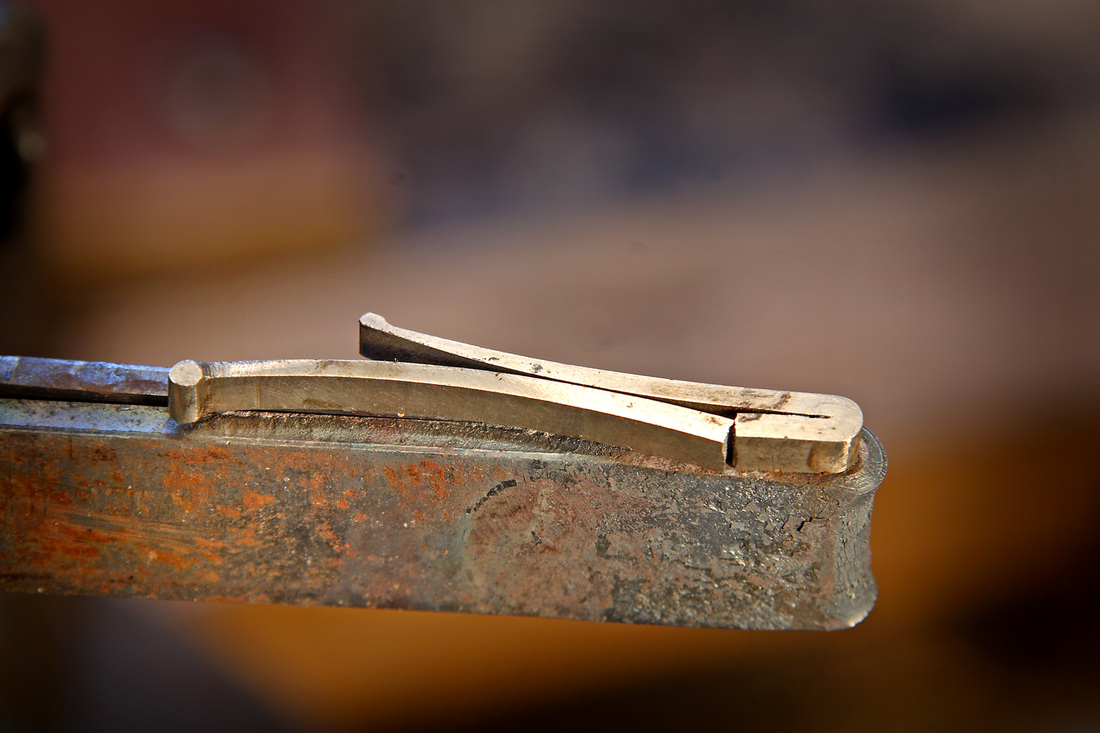
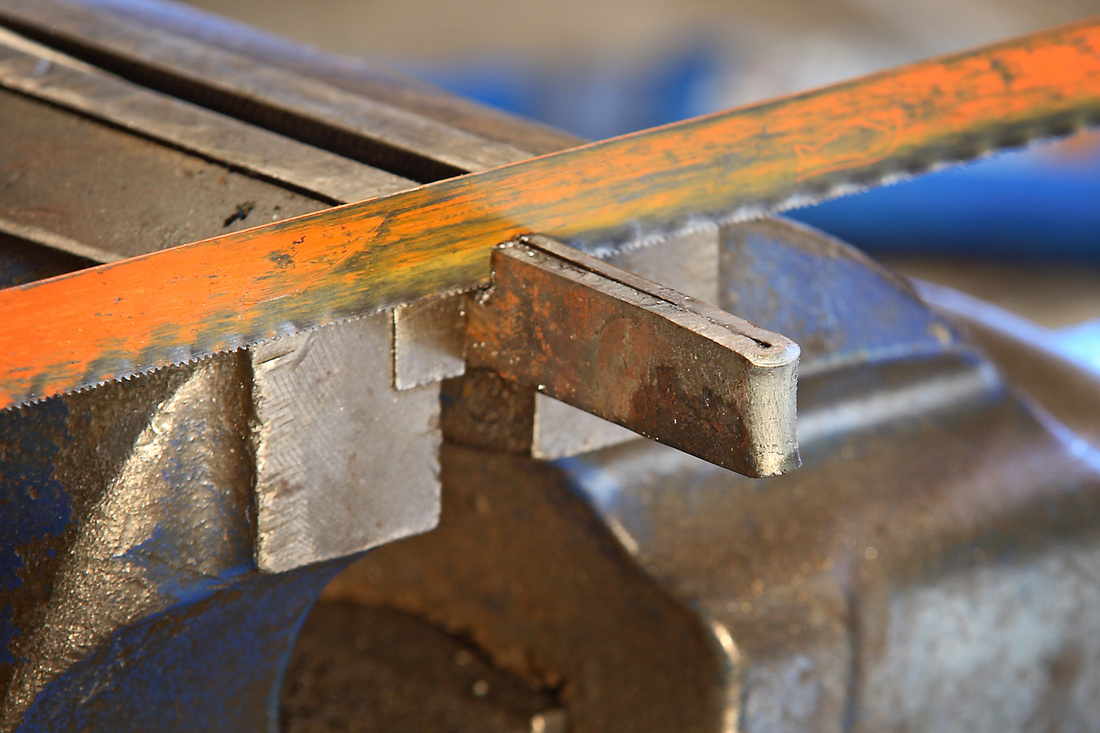
Once cooled the old spring is laid on the newly formed "V" to check the dimensions will work, and the new spring is cut to length.
|
|
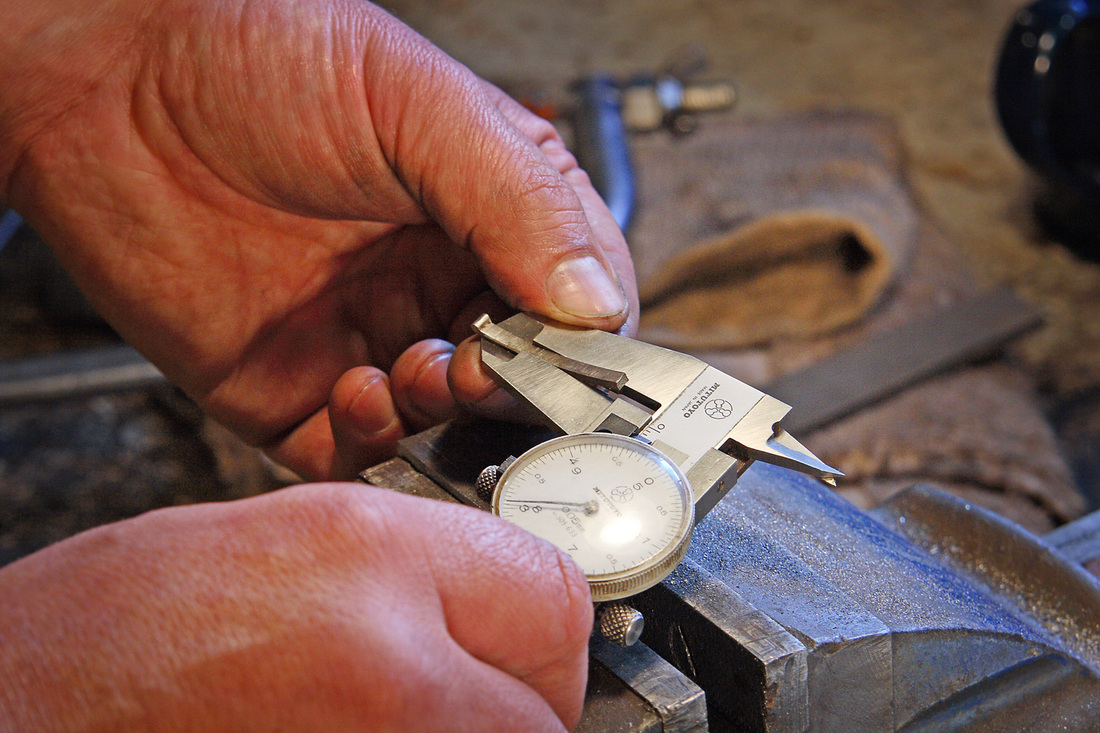
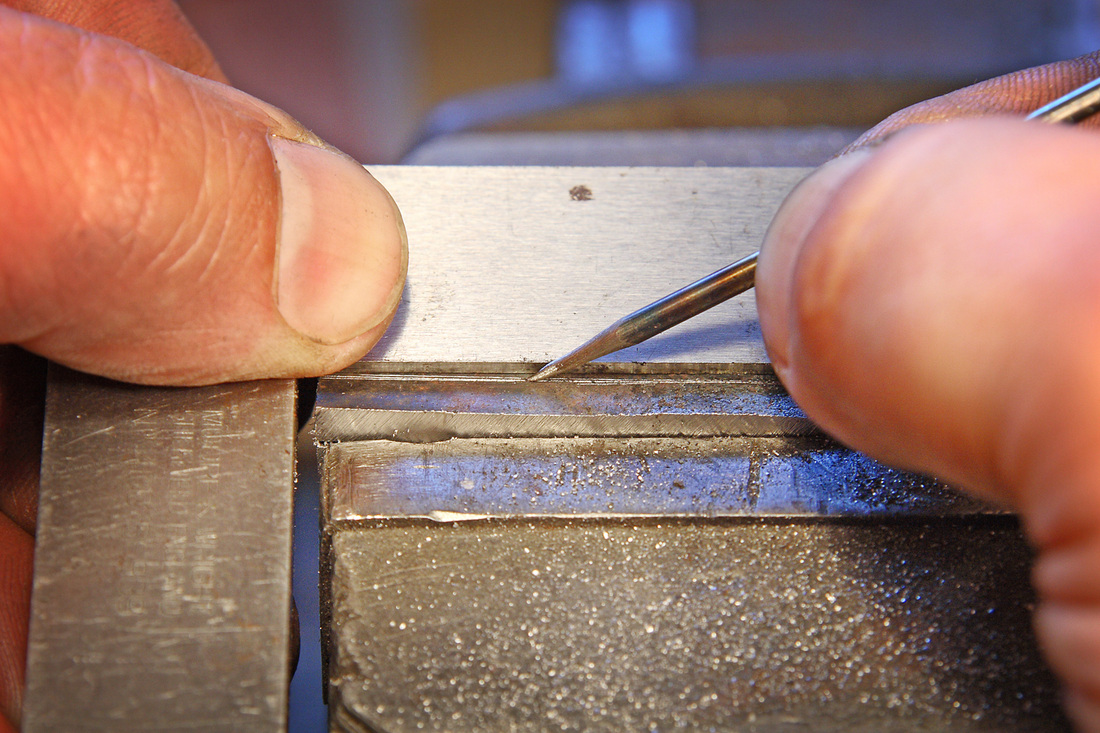
The width of the old spring is measured and the new spring is scribed ready to be filed to match.
|
|
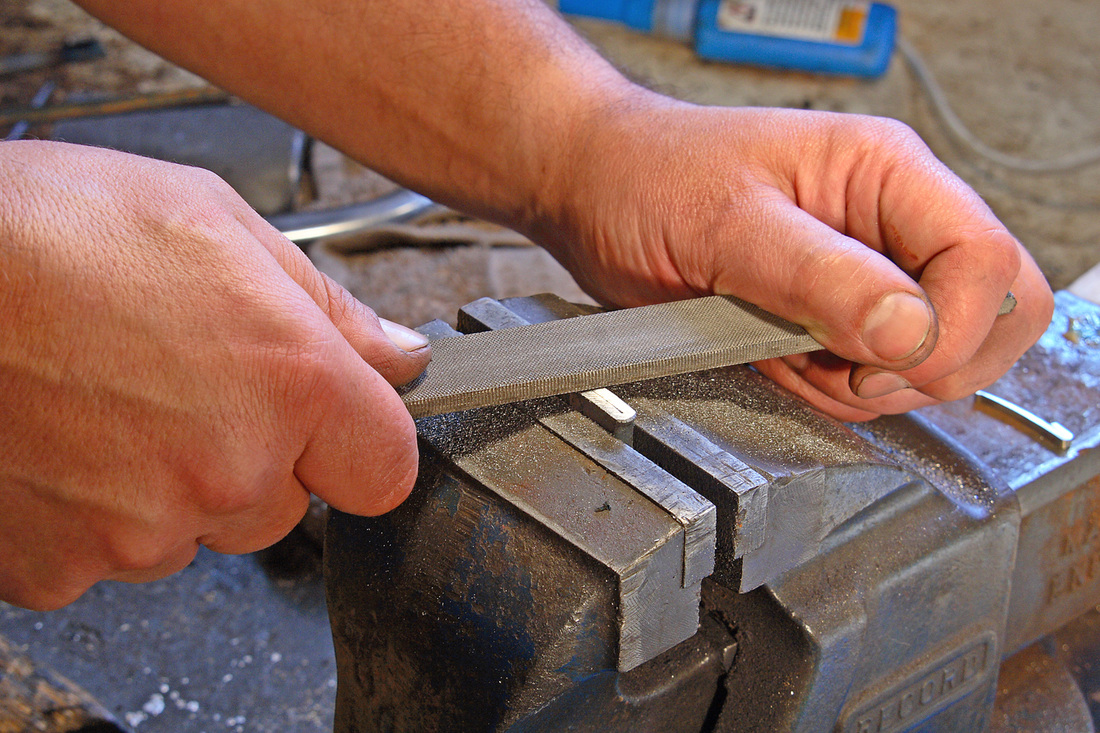
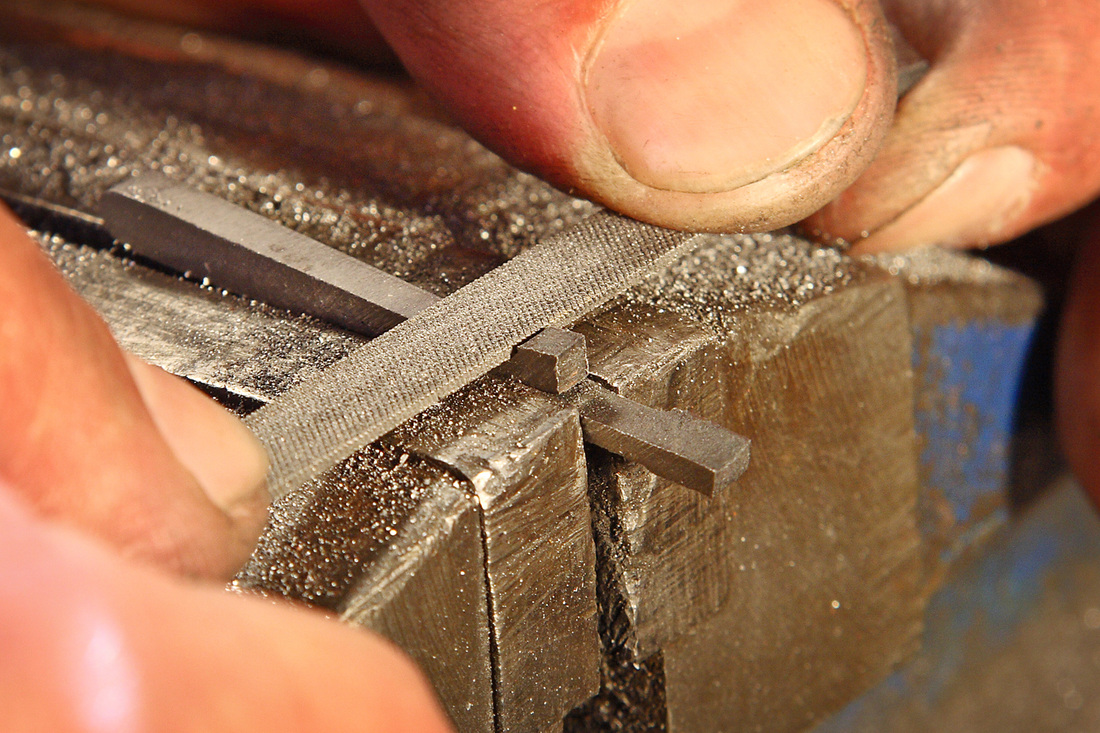
The new spring is first filed down to the correct width, then to the correct depth leaving the steps which will form the hammer contact and the engagement foot within the main spring housing.
|
|
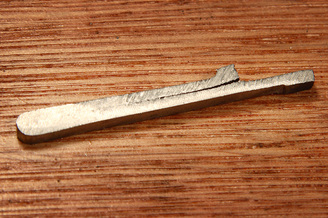
Here we have the rough filed spring ready for final forging and heat treatment.

The rough spring is heated to red hot and gently formed to the bend that I want, before being fully heated in the gas furnace to cherry red and quenhed in oil. This hardens the spring, but at this stage it is too hard and would break if compressed. To correct this the spring is tempered for an hour in our electric heat treament oven.
|

|
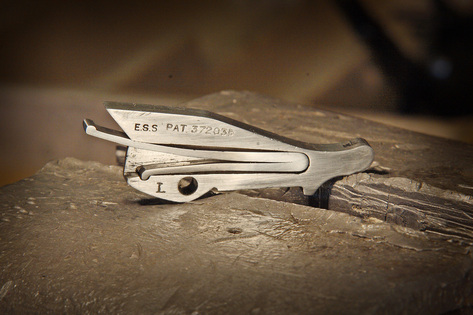
The finished spring, hand polished, regulated, and installed in the mainspring housing ready to go back in the gun.
As with most of our hand forged springs this one has a three year guarantee, and the gun will be thoroughly test fired in our indoor test chamber before being returned to the customer ready for the next days shooting.
As with most of our hand forged springs this one has a three year guarantee, and the gun will be thoroughly test fired in our indoor test chamber before being returned to the customer ready for the next days shooting.