Making a Miroku V mainspring.
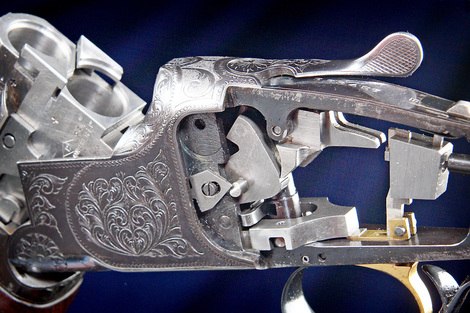
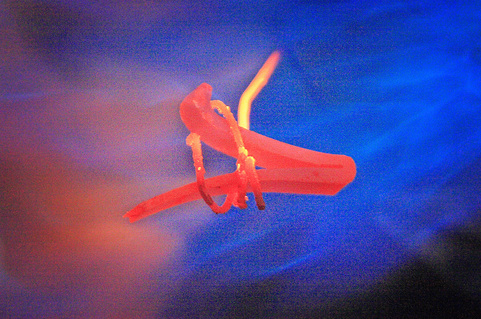
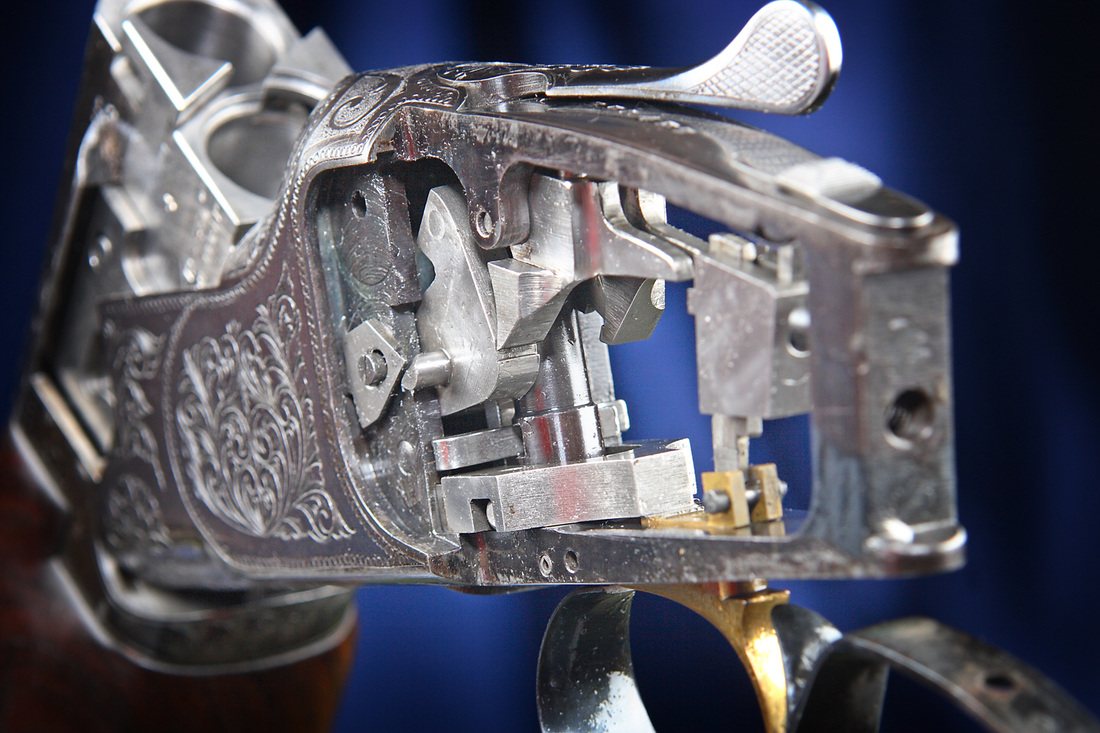
A very nice Miroku 800 was brought in which was failing to fire the top barrel. Initial testing showed the most likely cause to be a broken main spring. No problem, we usually have replacement coil mainsprings in stock. If you look at the image to above though you may notice that the area behind the hammers where the coil springs would usually sit is empty. That is because this action is from one of the earlier Miroku designs and is equipped with Miroku V type main springs, also known as leaf springs, located in front of the hammers. V springs are regarded as giving quicker lock times and more consistent trigger pressures than coil springs, and are still fitted to the most expensive guns for these reasons. Unfortunately, these springs are no longer available as a spare from Miroku, so I will make one from bar stock. This is standard work for us, we make a lot of shotgun springs.
One of the first things to do is produce a rough forging from spring steel bar stock. Here we can see the spring steel forging, part way through the forging process, being heated in our gas furnace.
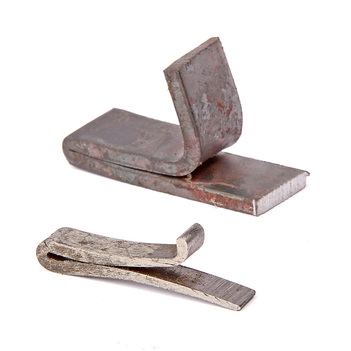
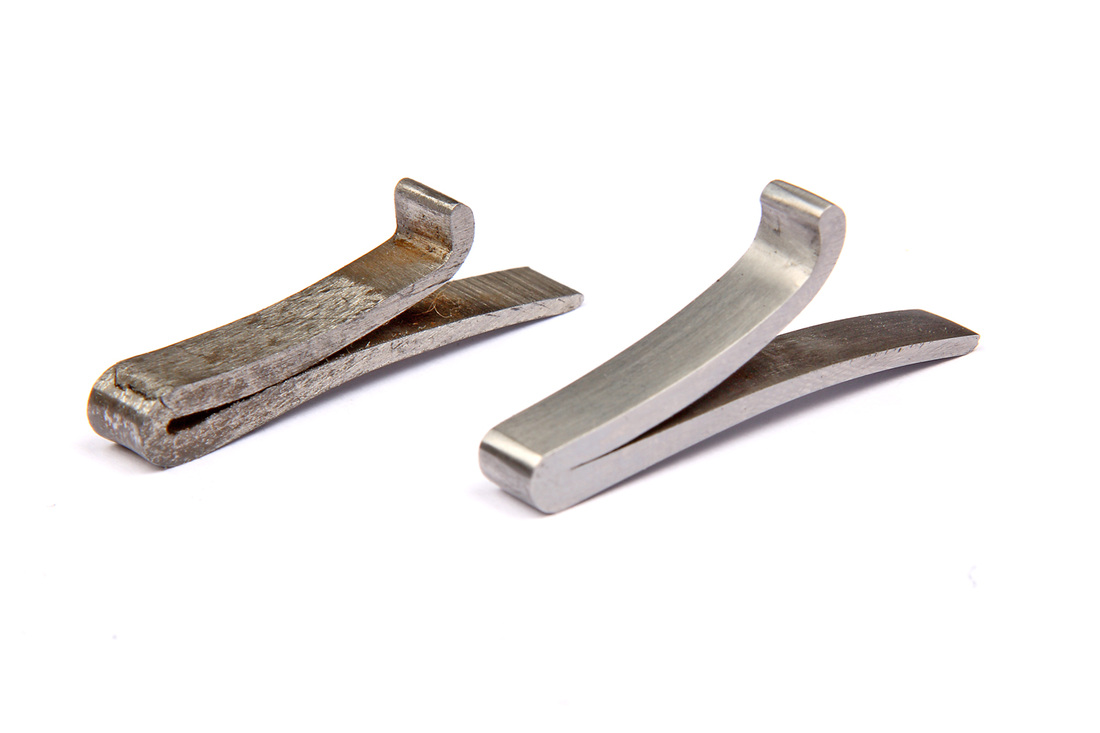
Here we see the rough forging after cooling, and the cracked original spring. There is still some way to go before we can call the rough forging a finished spring.
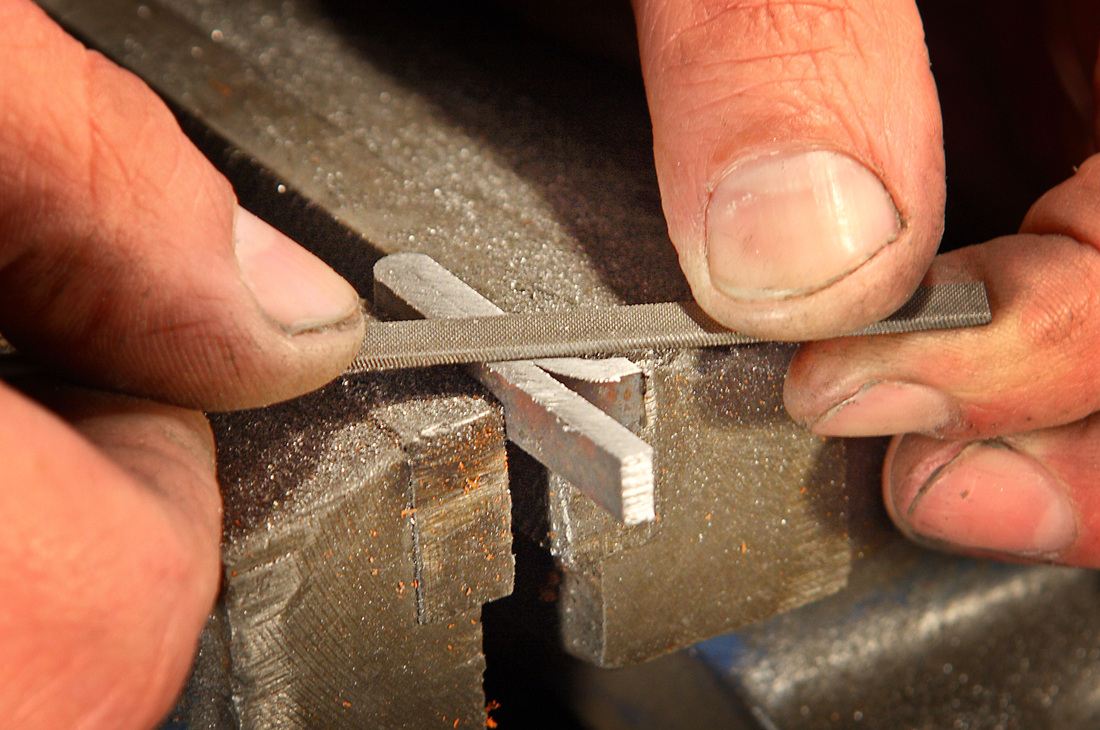
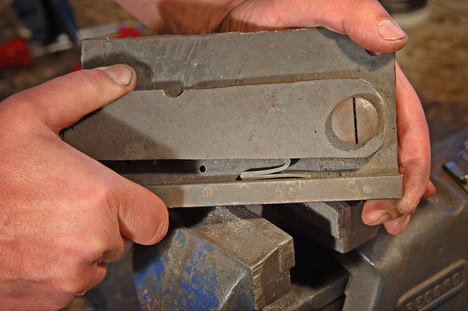
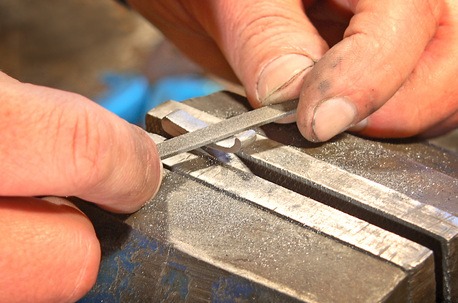
The next stage is to reduce the width of the forging with a hacksaw and hand file it until it fits the action slot.

|
|
Once this is done the forging is returned to the gas furnace, where the correct spring gape and limb curve are applied. Once these are set it is hardened by quenching in oil and transferred to our heat treatment oven for an hour to temper it correctly.
The spring is tested by being compressed in our spring testing jig. As the spring is compressed we look for even bending of the spring limbs. This is especially useful if, as is the case with this gun, the spring movement can not be seen once it is installed.
If the limbs do not bend evenly they are hand filed and polished to adjust the spring taper until the movement is correct.
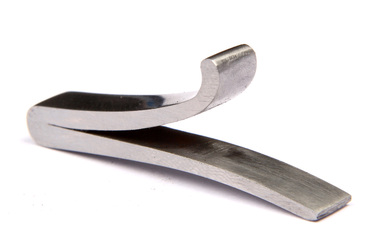
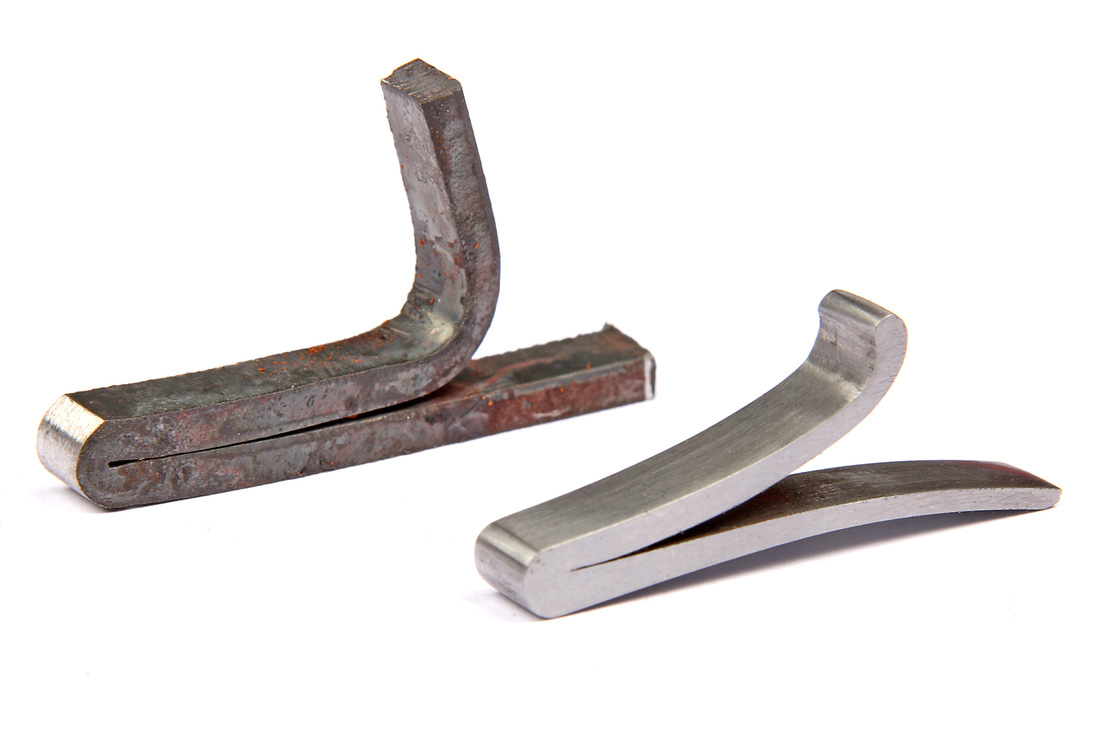
The finished spring, polished on all sides, the tapers and curves are correct, and it is ready for fitting.
|
The new spring next to the cracked original. The new spring is better finished than the original ever was, but that is what you expect with a hand made custom spring.
|
The finished spring next to the section of spring forging I cut off earlier to reduce the spring width.
|
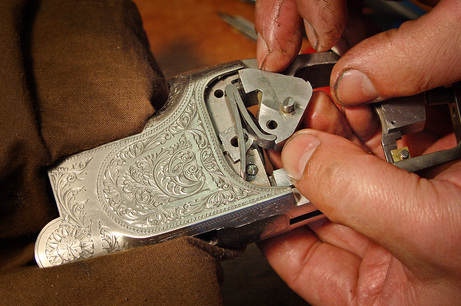
This is the relationship between the spring and the hammer when in the action. Once they are installed the spring is hidden from view.
The action is reassembled and tested prior to the owner collecting it. The trigger pressure and striker energy are checked, and the whole gun thoroughly test fired using our indoor test chamber.
I am glad I have pictures, because once the gun is reassembled there is nothing for the owner to see. I should get to see the spring again when the gun returns for regular servicing, but the owner will probably never see the spring he paid for. He will just be glad that he found somone who could get his gun working again.